
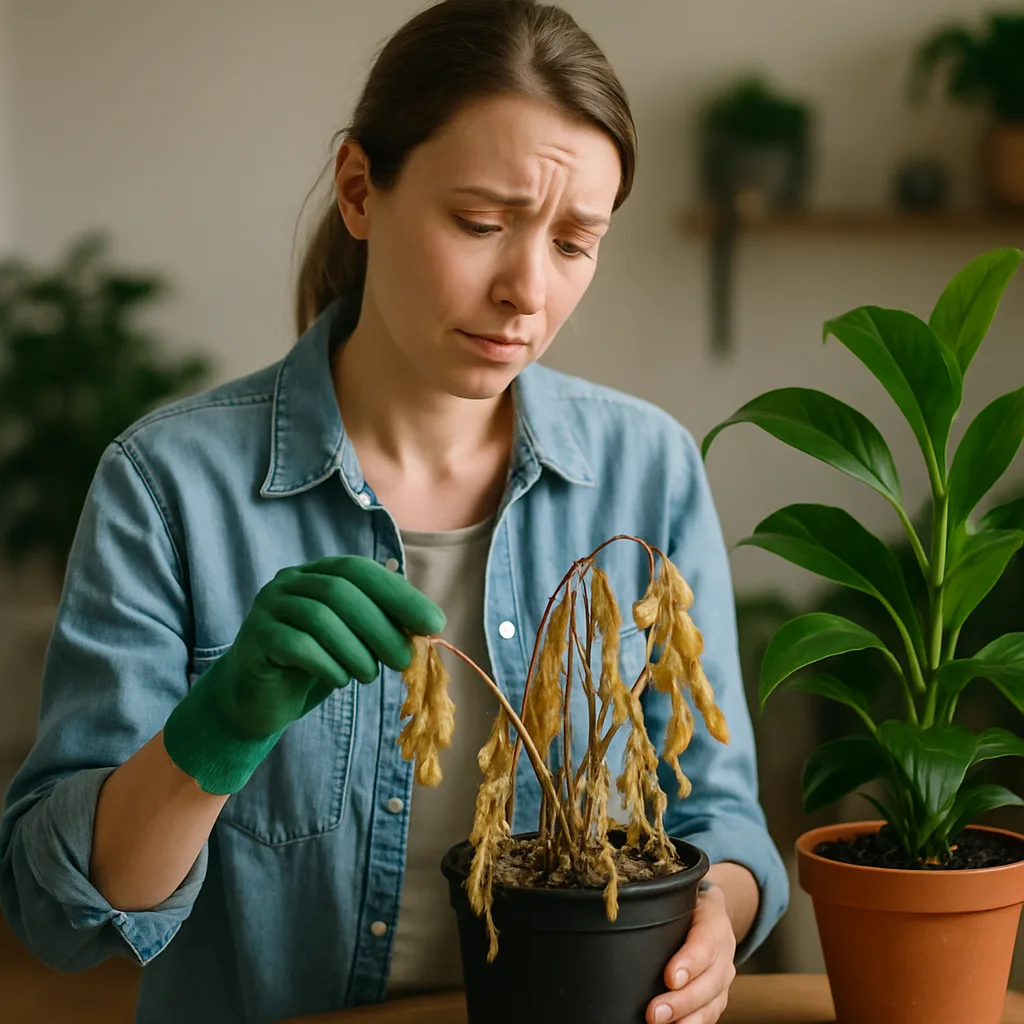
Are your houseplants looking a bit wilted or neglected? Fear not! Resurrecting your withered houseplants might just be a matter of understanding the essential tricks to revive them. In this article, I’ll share a personal journey of attempting to breathe life back into limp greenery using water propagation — a method that’s both fascinating and practical. Through trial and error, we’ll explore how to give your plants a second chance to thrive.
Choosing the Right Method: Water Propagation
Water propagation is a simple yet effective technique for reviving houseplants, especially those with a tendency to bounce back quickly, like pothos, philodendrons, and spider plants. It involves rooting plant cuttings in water before transplanting them to soil. I chose this method due to its visible nature, allowing me to monitor root growth and make adjustments as needed.
Step-by-Step Process for Water Propagation
Select the Right Plant and Cutting
Start by identifying a houseplant that’s suitable for water propagation. In my case, I chose a pothos with leaves beginning to yellow and stems drooping. Select a healthy stem cutting approximately 4-6 inches long, ensuring it has at least two nodes (the bumps where leaves and roots grow).
Prepare the Cutting
Use a clean pair of scissors or pruning shears to make a clean cut just below a node. Remove any leaves from the lower part of the cutting to prevent rotting in water. This step is crucial, as I learned the hard way when my first attempt rotted due to leaves submerged in water.
Place in Water
Fill a glass or jar with room temperature water and place the cutting inside, ensuring the nodes are submerged but the leaves are above water. Position the container in a spot with indirect sunlight. Direct sunlight can cause algae growth and raise the water temperature, hindering root development.
Monitor and Change Water Regularly
Change the water every 5-7 days to keep it fresh and prevent bacterial growth. I once overlooked this step, and the water turned murky, stalling the rooting process. Keep an eye out for small roots developing, which typically appear within 2-4 weeks.
Signs of Success and Potential Pitfalls
Root Development
A sign of success is the emergence of white, healthy roots. If you notice slimy, discolored roots, it’s a sign of rot. When I first encountered root rot, I realized it was due to a lack of water changes and excessive sunlight exposure.
Transplanting to Soil
Once roots are 1-2 inches long, it’s time to transplant the cutting into soil. This transition should be gentle to avoid damaging the delicate roots. Use a well-draining potting mix and pot with drainage holes to prevent waterlogging.
Common Mistakes
A major mistake I made was transplanting too early, resulting in stunted growth as the roots weren’t ready to handle soil nutrients. Patience is key — waiting a little longer for robust roots can make all the difference.
Conclusion
Reviving your withered houseplants through water propagation can be a rewarding experience, teaching patience and care. While not every attempt may succeed, understanding the process and recognizing potential pitfalls can greatly enhance your success rate. Each plant has unique needs, and observing them closely during propagation can offer insights into their preferences.
Reflecting on my journey, I’ve learned that consistency in water changes, proper lighting, and patience are vital components. If I were to begin again, I’d focus on selecting cuttings with more nodes and maintaining a routine schedule for water changes. Reviving houseplants isn’t just about following a set of instructions but also adapting the process to your specific environment and plants.

Gardening Writer & Plant Enthusiast
Sarah Mitchell is a passionate gardening writer dedicated to helping people bring more nature into their homes. She loves exploring indoor plants, flowers, and sustainable gardening practices, sharing simple and practical tips that make plant care easier for everyone.