
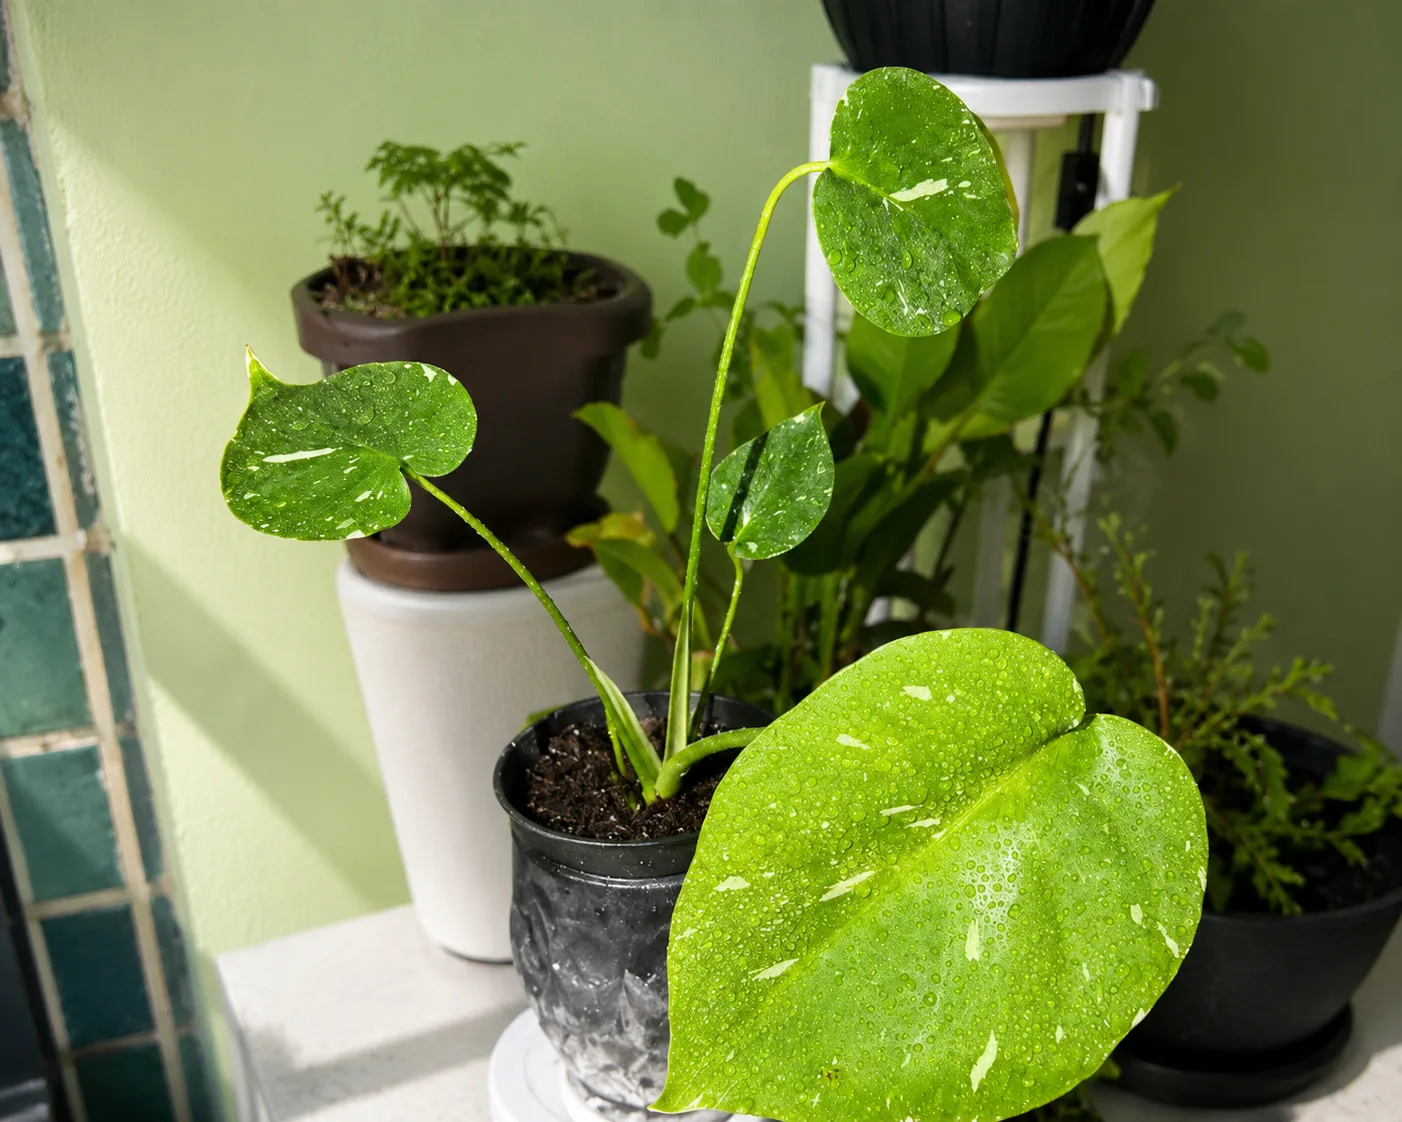
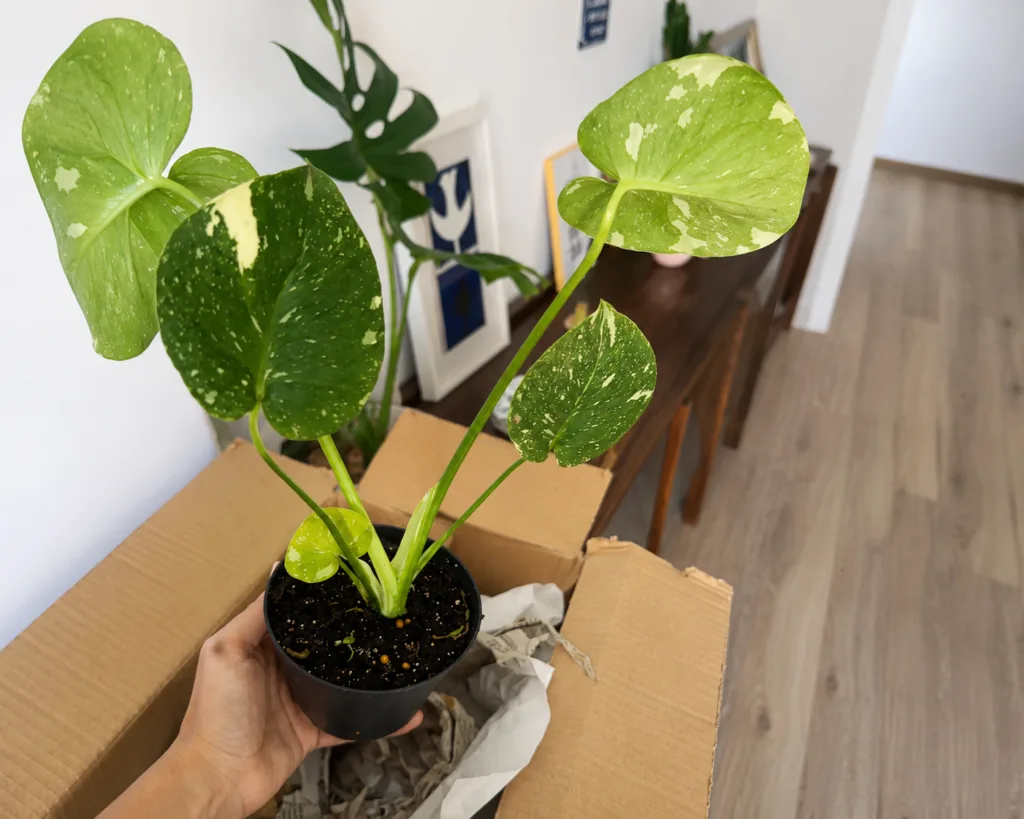
I found my Monstera on the clearance shelf of a hardware store garden section, marked down because it looked, in the employee’s own words, “pretty rough.” Several leaves were yellow or fully brown, the stem near the soil line felt suspiciously soft when I pressed it, and the whole plant had a slight lean like it was struggling to hold itself up. I bought it anyway, mostly out of curiosity about whether I could actually bring it back, and it became one of the more instructive plant projects I’ve taken on.
This is what actually reviving a severely struggling Monstera looked like for me, not the day-to-day maintenance of a healthy one, but the diagnosis and recovery process for a plant that was genuinely close to dying.
The First Thing I Checked: The Roots
Before doing anything else, I unpotted it to see what I was actually working with. The soil was dense, compacted, and had clearly been sitting wet for a long time — heavy, dark, and slightly sour-smelling. A significant portion of the roots were dark brown to black and mushy when I pressed them, a clear sign of root rot that had been progressing for a while, likely long before it ever reached the clearance shelf.
I trimmed away every root that felt soft or looked discolored, using clean scissors and sterilizing them between cuts to avoid spreading whatever fungal issue was causing the rot. What remained afterward was honestly a fairly small handful of firm, white-ish roots — enough that I felt cautiously optimistic, but not enough that I was confident the plant would definitely make it.
Repotting Into Something That Could Actually Drain
The pot it came in had no visible drainage hole modification despite technically having one — it had gotten clogged with compacted soil and roots, which likely contributed heavily to the standing moisture that caused the rot in the first place. I repotted into a smaller pot than the original, sized to the now-reduced root system rather than the plant’s top growth, using a fresh, well-draining mix heavy on perlite and orchid bark rather than a dense, moisture-retentive soil.
Sizing the pot down rather than up felt counterintuitive given how large the plant’s leaves still were, but I’d read that an oversized pot holds more moisture than a stressed, reduced root system can actually use, so I prioritized matching the pot to the roots I had left rather than the foliage.
What I Did With the Damaged Leaves
I pruned away every leaf that was more than about half yellow or brown, using the same clean, sterilized scissors. This felt drastic — the plant went from looking full, if unhealthy, to looking genuinely sparse, with maybe four leaves remaining. But I’d rather have the plant’s limited energy going toward supporting healthy tissue and eventual new growth than trying to maintain leaves that were already failing.
I left a couple of leaves that were only partially yellowed, figuring they were still contributing at least some photosynthesis, and made a note to remove them later if they continued declining rather than stabilizing.
The Waiting Period Where Nothing Seemed to Happen
For the first three to four weeks after repotting, the plant genuinely didn’t look like it was doing much of anything, which was the hardest part of the whole process. I watered sparingly, letting the soil dry out more than I normally would for a healthy Monstera, since I didn’t want to risk overwhelming the reduced root system with more moisture than it could handle. I kept it in bright, indirect light and otherwise left it alone as much as possible, resisting the urge to keep checking the roots or repotting again out of impatience.
The first sign of actual recovery was subtle — the remaining leaves started looking slightly more upright and less limp, rather than any new growth yet. That alone was enough to keep me going with the same patient, hands-off approach.
When New Growth Finally Appeared
About six weeks after the initial repotting, a small new leaf point emerged from the base, still tightly furled. It took another two to three weeks to fully unfurl, coming in smaller than what I’d expect from a fully healthy plant, and without any fenestration, just a solid small leaf. I took this as a genuinely encouraging sign, since new growth at all meant the trimmed root system had stabilized enough to support it.
Growth has continued steadily since, though it took roughly four to five months before new leaves started coming in closer to a normal size, and even longer before any fenestration appeared on new growth, which I’d guess relates to the plant needing to rebuild both root mass and overall maturity after losing so much of its original root system.
What I’d Check First With Any Struggling Monstera
Based on this experience, if I saw a Monstera showing serious decline again, I’d go through roughly the same diagnostic order: check the roots first, since that told me more about the actual severity of the problem than the leaves did on their own. A soft, mushy stem base combined with yellowing leaves has, in my experience, reliably pointed to root rot requiring the kind of aggressive intervention I did here, rather than a simple watering adjustment.
I’d also resist the urge to keep the plant’s full original leaf count if a significant portion is already failing — in hindsight, pruning back hard felt uncomfortable in the moment but gave the plant a much clearer, more focused recovery than trying to nurse every leaf back from a point some of them likely couldn’t return from anyway.
Signs That Told Me How Serious the Situation Actually Was
- A soft, mushy stem base — my clearest indicator that root rot had progressed significantly, prompting me to check the roots directly rather than just adjusting watering and waiting.
- Roots that are dark, soft, and mushy when pressed, rather than firm and lighter in color — the confirmation that told me how much of the root system actually needed to be removed.
- Multiple leaves more than half yellow or brown — in my experience, leaves at this stage didn’t recover, and removing them redirected the plant’s limited energy more effectively than trying to preserve them.
- No new growth for several weeks after intervention — this felt alarming at the time, but turned out to be a normal part of the recovery timeline for a plant that had lost most of its root system, not a sign that the recovery attempt had failed.
What I’d Tell Someone With a Struggling Monstera
Don’t assume a plant that looks this rough is beyond saving before actually checking the roots — mine looked far worse from the outside than the eventual outcome suggested. But also be prepared for a genuinely slow recovery timeline; it took months, not weeks, before this plant looked anything like a normal, healthy Monstera again, and patience during the quiet weeks where nothing visibly changed was honestly the hardest part of the whole process.
Frequently Asked Questions
How do I know if my Monstera has root rot? Based on my own experience, a soft or mushy stem base combined with yellowing leaves was the clearest sign. Checking the roots directly confirmed it — healthy roots were firm and light-colored, while rotted ones were dark and mushy.
Should I repot a Monstera into a bigger or smaller pot after trimming rotted roots? In my case, sizing down to match the reduced root system, rather than the plant’s original top growth, worked better than repotting into a larger pot, which I suspect would have held onto more moisture than the remaining roots could use.
How long does it take a Monstera to recover from root rot? For my plant, the first new growth appeared about six weeks after treatment, but it took four to five months before new leaves reached a normal size, and longer still before fenestration returned.
Should I remove yellow leaves from a struggling Monstera? In my experience, yes, particularly any leaf more than half yellow or brown — they didn’t recover, and removing them seemed to help redirect the plant’s limited energy toward stabilizing and producing new growth.

Gardening Writer & Plant Enthusiast
Sarah Mitchell is a passionate gardening writer dedicated to helping people bring more nature into their homes. She loves exploring indoor plants, flowers, and sustainable gardening practices, sharing simple and practical tips that make plant care easier for everyone.