
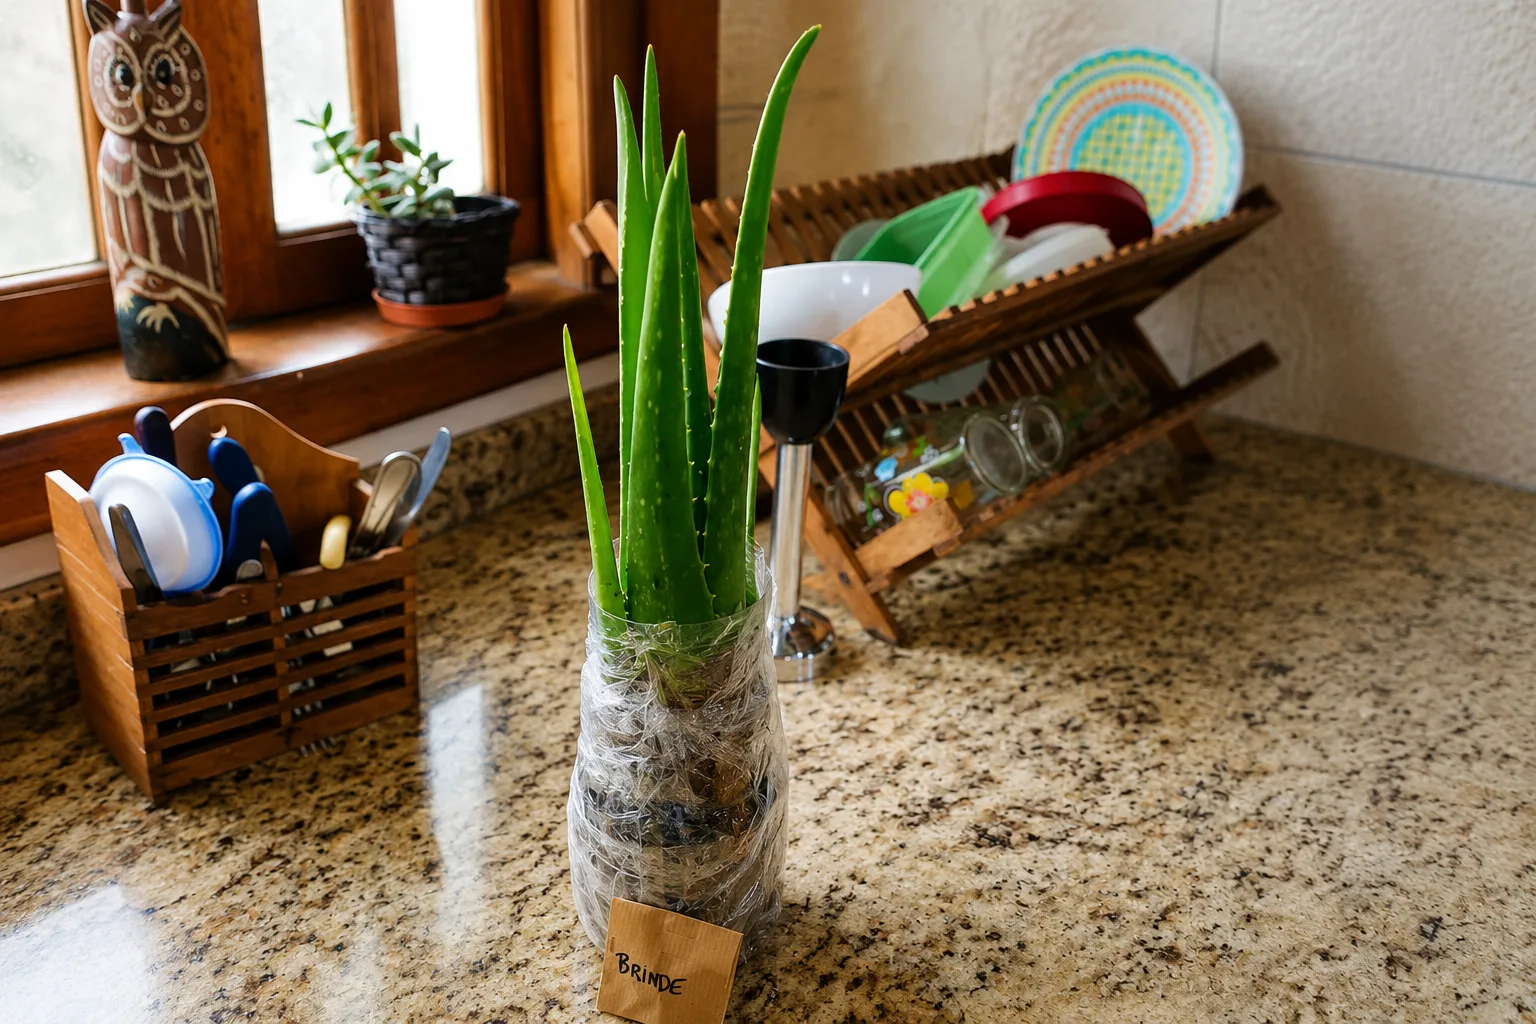
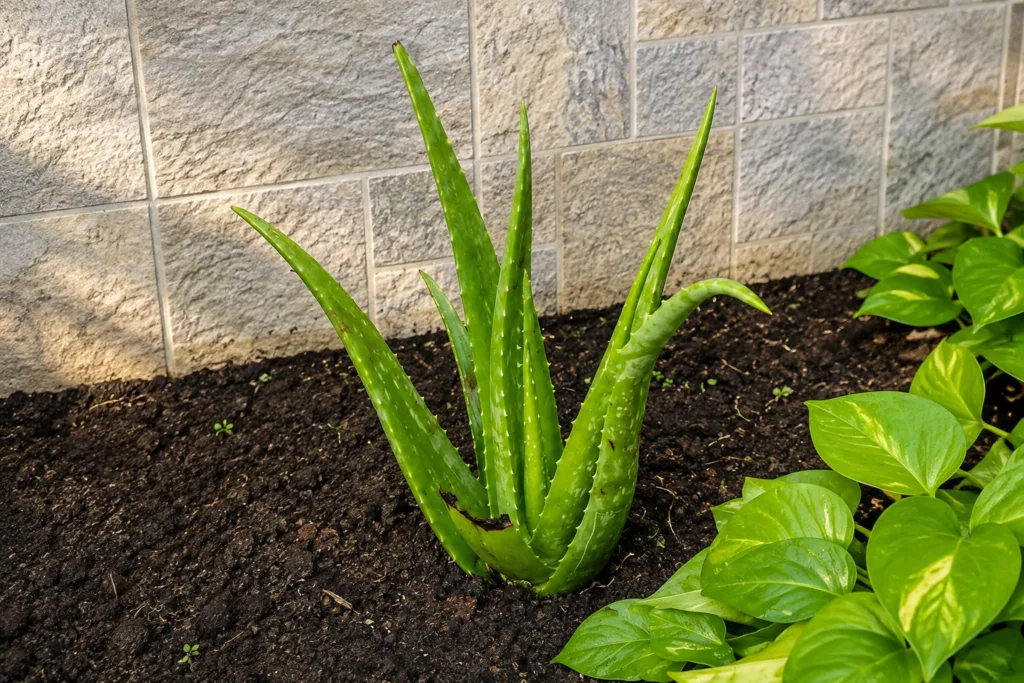
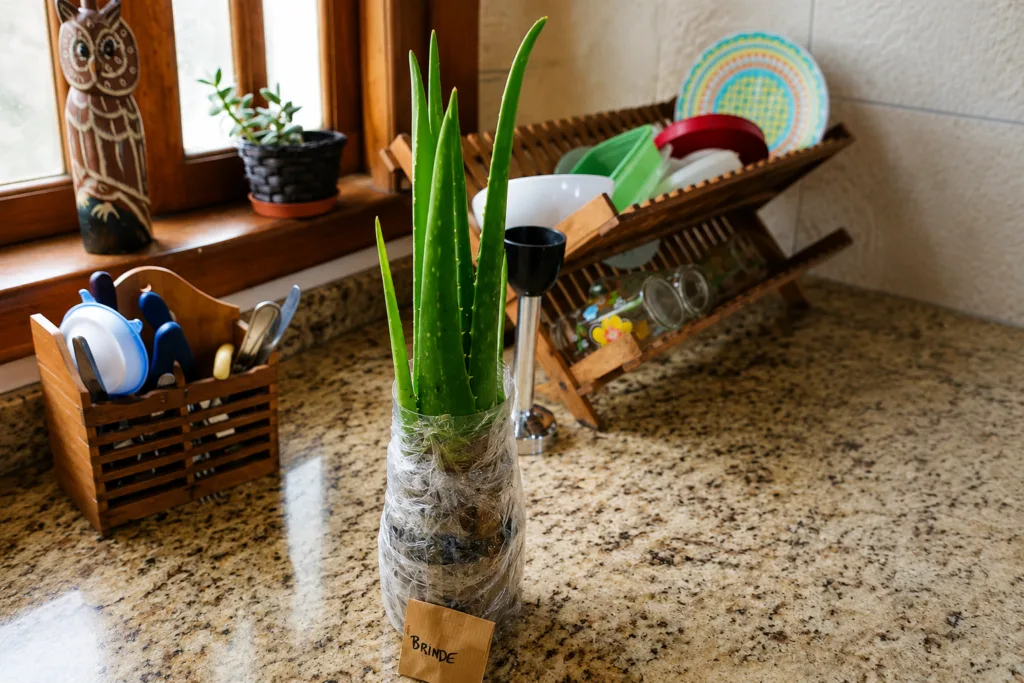
I’d owned an aloe vera plant for almost a year purely as decoration before I ever thought to cut a leaf open. That changed after a minor kitchen burn sent me searching my counter for anything that might help, and I remembered the plant sitting on my windowsill. Since then, actually using this plant for what it’s known for has changed how I care for it — I pay attention to leaf thickness and plant maturity in a way I never did when I was just watering it and leaving it alone.
Here’s what real aloe vera plant care has looked like for me, including the part most care guides mention only briefly: actually harvesting and using the gel.
Watering: The Part That’s Been Genuinely Easy
I let the soil dry out completely between waterings, checking about two inches down with my finger, which in my apartment works out to roughly every 2-3 weeks during the growing season and closer to once a month in winter. My aloe has been fairly forgiving of this schedule sliding around a bit, though I did have one clear overwatering incident early on where a few lower leaves turned soft, slightly translucent, and eventually yellow after I’d been watering more frequently than the plant actually needed. Backing off and letting the soil dry out fully resolved it within a few weeks, without needing to repot or trim any roots.
I’ve also seen the opposite problem once, after genuinely neglecting the plant for closer to two months during a busy stretch — the leaves became visibly thinner and took on a reddish-brown tint at the tips. A thorough watering brought most of the plumpness back within about a week, though the reddish coloring on the oldest, most affected leaves never fully went away.
Light: Where I Had to Learn the Hard Way
I moved my aloe to a spot with a few hours of direct afternoon sun through an unfiltered window, assuming a desert succulent would appreciate as much sun as I could give it. Within about a week, several leaves developed yellowish, scorched patches on the side facing the window. Moving it to a spot with bright but filtered or indirect light solved the scorching, and I’ve since kept it a few feet back from any window that gets strong direct afternoon sun.
I have noticed it getting slightly leggy, with new growth stretching toward the light, during a stretch where I moved it to a dimmer corner temporarily. Rotating the pot occasionally since then has helped keep growth more even, rather than concentrated on just the side facing the brightest light.
Why Leaf Thickness Started Mattering to Me
Once I began actually harvesting gel, I started paying attention to leaf thickness in a way I hadn’t before. The thickest, most mature outer leaves near the base of the plant have consistently yielded far more usable gel than younger, thinner leaves closer to the center, which makes sense given that older leaves have had more time to store water and the gel that comes with it. I’ve learned to leave the newer, center leaves alone entirely and only ever harvest from the oldest outer leaves, which also seems to put less overall stress on the plant compared to cutting into leaves closer to the growing center.
How I Actually Harvest the Gel Now
I select a thick, mature outer leaf and cut it as close to the base stem as I can with a clean, sharp knife. After cutting, I stand the leaf upright in a glass for a few minutes to let the yellow sap, called aloin, drain out — I skipped this step the first time and found the gel had a noticeably bitter, slightly irritating quality that went away once I started letting the sap drain first. After that, I slice the leaf open lengthwise and scoop out the clear gel with a spoon.
I only harvest sparingly, maybe one or two leaves every couple of months from my main mature plant, since I’ve noticed the plant takes a visible period, usually a few weeks, to fully recover its typical appearance after a harvest, and I don’t want to stress it by taking too much too often.
What I’ve Actually Used the Gel For
Beyond the original burn that got me started, I’ve used the fresh gel directly on minor skin irritations and, more recently, mixed into a simple hydrating face mask with honey a couple of times. I store any extra gel I don’t use immediately in an airtight container in the fridge, where it’s kept well for about a week, though I’ve also frozen small portions in an ice cube tray for longer storage, which has worked well for stretching out a single harvest over a few weeks.
Propagating From Pups
My aloe has produced several pups, small offset plants that grow around the base of the mother plant, over the past couple of years. I’ve separated a few once they had a decent handful of their own roots, gently working around the base to expose the pup’s root system before twisting it away from the parent plant. I let the cut end callus for about a day before potting it in its own small container with well-draining soil, watering sparingly at first since I’ve found young pups are noticeably more sensitive to overwatering than an established mature plant.
Every pup I’ve separated this way has established successfully, which has made this by far the easiest and most reliable propagation method I’ve used with this plant, especially compared to the slower, less predictable process of rooting a cut leaf section, which I tried once with mixed results.
Repotting Less Often Than Some of My Other Plants
I’ve repotted my aloe roughly every 2-3 years, prompted mainly by roots becoming visible at the drainage holes or the plant producing enough pups that the pot started looking genuinely crowded. I move up just one pot size at a time using a cactus-specific mix, since I’ve read — and my own overwatering scare backs this up — that too large a pot holds onto more moisture than the plant’s roots can use.
Pests I’ve Actually Encountered
Mealybugs have shown up once, tucked into the crevice where a leaf meets the base of the plant. Dabbing them directly with a cotton swab dipped in rubbing alcohol cleared them within a couple of weeks of repeated treatment. I haven’t dealt with scale on this particular plant, though I check for it periodically given how common it seems to be on aloe based on what I’ve read.
Signs I’ve Learned to Read
- Soft, mushy, translucent leaves — overwatering, in my own experience, resolved by letting the soil dry out fully and holding off on the next watering longer than usual.
- Thin, shriveled, reddish-brown leaves — underwatering, which recovered noticeably within about a week of a thorough watering, though the reddish tint on the most affected leaves lingered.
- Yellowish scorched patches facing a window — direct sun exposure that was more intense than the plant could handle, learned firsthand after moving mine too close to unfiltered afternoon light.
- Thin gel with a bitter smell after harvesting — for me, this traced back to not letting the yellow sap drain fully before using the gel.
What I’d Tell Someone Growing Their First Aloe Vera
If you’re growing this plant partly for the gel, be patient about which leaves you harvest from — the older, thicker outer leaves have consistently given me better results than reaching for whatever leaf is easiest to access. Beyond that, the basic watering and light routine has been genuinely low-maintenance, and the biggest lessons I’ve learned have come from actually using the plant for what it’s known for, rather than just keeping it alive as decoration.
Frequently Asked Questions
Which aloe leaves should I harvest for gel? Based on my own experience, the thickest, most mature outer leaves near the base have yielded far more usable gel than younger leaves closer to the center, which I now leave alone entirely.
Why does my harvested aloe gel taste or feel bitter? In my case, this came from not letting the yellow sap, called aloin, drain out of the cut leaf before using the gel. Standing the leaf upright for a few minutes after cutting resolved it.
How often can I harvest gel from my aloe plant without hurting it? I’ve stuck to harvesting one or two leaves every couple of months from my mature plant, since it’s taken a few weeks to fully recover its normal appearance after each harvest.
What’s the easiest way to propagate aloe vera? In my experience, separating an established pup from around the base of the mother plant has been far more reliable than rooting a cut leaf section, which I tried once with much less consistent results.
Gardening Writer & Plant Enthusiast
Sarah Mitchell is a passionate gardening writer dedicated to helping people bring more nature into their homes. She loves exploring indoor plants, flowers, and sustainable gardening practices, sharing simple and practical tips that make plant care easier for everyone.