
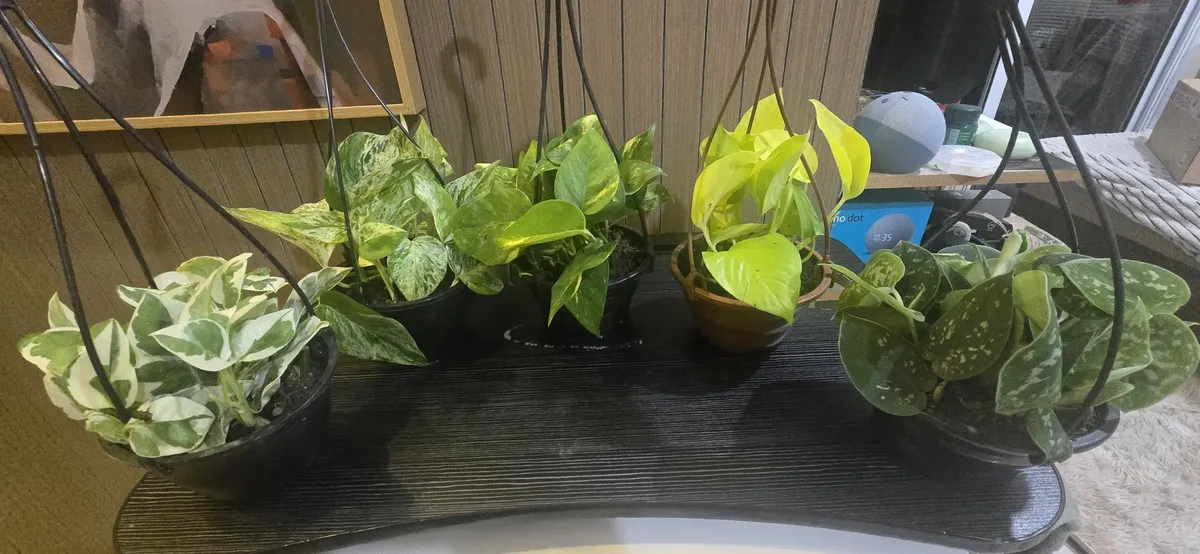
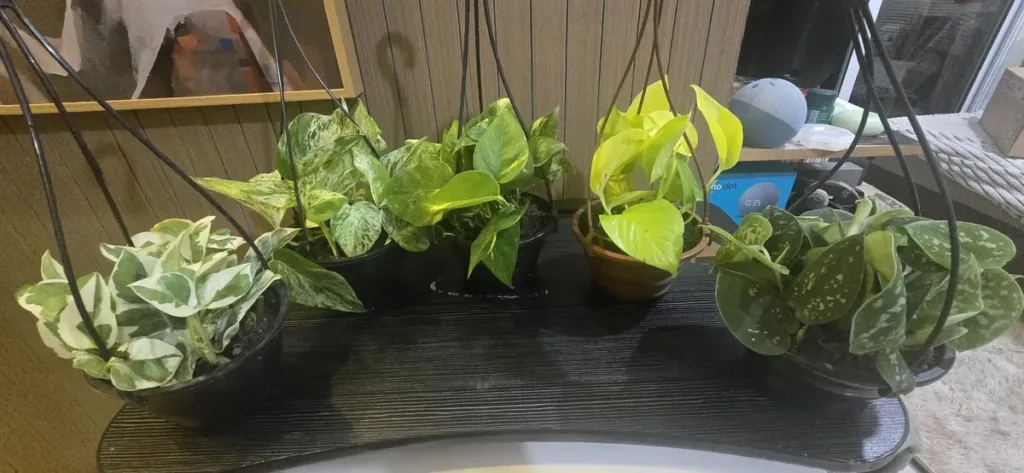
My pothos propagation habit started because I felt guilty throwing away a vine I’d trimmed for length. It had gotten so long it was trailing across the floor and catching on my vacuum, so I cut off about two feet of it, and instead of tossing it, I dropped the cut end in an old pasta sauce jar of water on my kitchen windowsill. Three weeks later I had roots, and about a year after that, I’d turned that one plant into enough new pothos to fill a whole bookshelf and give four away to coworkers.
If you’ve never propagated a plant before, pothos is genuinely one of the most forgiving places to start. But there were still a handful of things I got wrong early on, and a few details that made the difference between cuttings that thrived and ones that just sat there doing nothing for months. Here’s everything from my actual experience.
Why Pothos Is Such an Easy Plant to Start With
Pothos roots from nodes — the small bumps along the stem where leaves attach. Each node has the potential to grow both roots and new leaves, which is why a single long vine can be cut into several pieces and turned into multiple separate plants. The plant is also just naturally vigorous; even a cutting sitting in fairly dim light on my hallway shelf, which gets almost no direct sun, still rooted within about a month, just a bit slower than the ones on my brighter windowsill.
The One Mistake That Wasted My First Few Attempts
My very first cuttings, before I really understood what I was doing, were cut in random spots along the vine without paying attention to the nodes. Some ended up with no node at all, just a stretch of bare stem, and those never rooted no matter how long I left them in water. Once I started specifically cutting so that each piece included at least one node, my success rate went from maybe 50% to essentially 100%.
If you’re not sure what you’re looking for, run your finger along the vine — the nodes are the slightly raised bumps, often where a leaf or a small brown root nub is already growing. That existing little brown nub is called an aerial root, and cuttings that already have one tend to root noticeably faster in my experience.
Method 1: Water Propagation
This is where I started and it’s still what I recommend to anyone trying pothos propagation for the first time, mainly because you get to watch it happen. I cut sections about 5-6 inches long, always making sure each piece had at least one node, and stripped off any leaves that would sit below the waterline — leaving leaves in the water led to a slimy, rotting mess within a few days the one time I forgot to do this.
I keep the jar somewhere with bright but indirect light — a windowsill facing east has worked best for me, since direct afternoon sun through a west-facing window actually scalded a couple of my more delicate cuttings once. I change the water every 4-5 days, and roots usually start showing within 2-3 weeks, though I’ve had a few stubborn cuttings take closer to five weeks.
One thing that surprised me: leaving cuttings in water too long after they’ve rooted can actually work against you. I once left a well-rooted cutting in its jar for almost three months out of laziness, and when I finally potted it in soil, it struggled and lost a couple of leaves adjusting to the new medium. Now I try to move cuttings to soil once roots are about an inch or two long, rather than waiting for a thicker root mass.
Method 2: Soil Propagation
After a few rounds of water propagation, I started experimenting with planting cuttings directly into soil to skip the eventual transplant shock. I dip the node end in a bit of rooting hormone — not strictly necessary for pothos, but I noticed a slight improvement in speed when I used it — and bury it about an inch deep in a well-draining potting mix.
The tricky part with soil propagation is that you’re flying a little blind, since you can’t see root development happening underground. I used to tug gently on the cutting every week or so to check for resistance, but I’d now say that’s not a great habit, since it can disturb roots that are just barely forming. A better sign is watching for new leaf growth, which for me usually showed up around week 4-6, a reasonably reliable sign that roots had taken hold below the surface.
I keep the soil consistently moist but not soaked for the first few weeks — this is different from how I water an established pothos, which I let dry out more between waterings. A fresh cutting doesn’t have the root system yet to handle drying out completely the way a mature plant does.
Which Method Actually Works Better?
Based on going back and forth between both for over a year, I don’t think one is objectively better — they just trade off differently. Water propagation is more forgiving if you’re new to this, because you can visually confirm what’s happening rather than guessing. Soil propagation skips a transplant step entirely, and in my experience, the cuttings that went straight into soil ended up slightly hardier and less prone to leaf drop once established, likely because they never had to adjust from water roots to soil roots.
If I’m propagating just to see it happen or to give a small rooted cutting as a gift, I use water. If I’m propagating to actually grow a full new plant for my own collection, I go straight to soil now.
Timing: Does It Actually Matter?
I’ve propagated pothos in every season at this point, mostly out of impatience rather than planning. Spring and summer cuttings have consistently rooted faster for me — usually within that 2-3 week window I mentioned — while a batch I started in the middle of winter took closer to 6 weeks and one cutting never rooted at all. Pothos will still propagate outside of its active growing season, but if you have the choice, spring through early fall has been noticeably more reliable in my own experience.
Signs Something’s Gone Wrong
A few things I’ve learned to watch for, mostly from cuttings that didn’t make it:
- The cut end turns black or mushy. This almost always means rot, usually from a leaf that was left submerged in water or from soil that stayed too wet. I’ve never successfully saved a cutting once this happened — better to start a fresh one.
- No change after 6+ weeks in water. At this point I check whether the cutting actually has a node included, since that’s been the culprit nearly every time for me.
- Leaves yellowing and dropping off a soil cutting. This has usually meant overwatering for me, not underwatering, even though the instinct is often to add more water when a new plant looks unhappy.
Caring for Newly Rooted Cuttings
Once a cutting is rooted and potted, I treat it gently for the first month or so — bright indirect light, no direct sun, and I hold off on any fertilizer until I see clear new growth, usually a new leaf unfurling. Only after that do I start treating it like a regular established pothos, letting the soil dry out more between waterings.
Frequently Asked Questions
How long does pothos propagation take? In my experience, water propagation typically shows visible roots within 2-3 weeks, occasionally up to 5 weeks. Soil propagation is harder to track directly, but new leaf growth usually appears around week 4-6, which is a good sign roots have formed.
Do I need a node for pothos propagation to work? Yes — this was the single biggest factor in my own success rate. A cutting without a node, in my experience, simply won’t root no matter how long you wait.
Can I propagate pothos cuttings in low light? It’s possible — I’ve done it on a dim hallway shelf — but it took noticeably longer than cuttings placed in bright, indirect light.
Is rooting hormone necessary? No, pothos roots reliably without it. I’ve used it occasionally and noticed a slight speed increase, but plenty of my successful cuttings never touched rooting hormone at all.

Gardening Writer & Plant Enthusiast
Sarah Mitchell is a passionate gardening writer dedicated to helping people bring more nature into their homes. She loves exploring indoor plants, flowers, and sustainable gardening practices, sharing simple and practical tips that make plant care easier for everyone.