
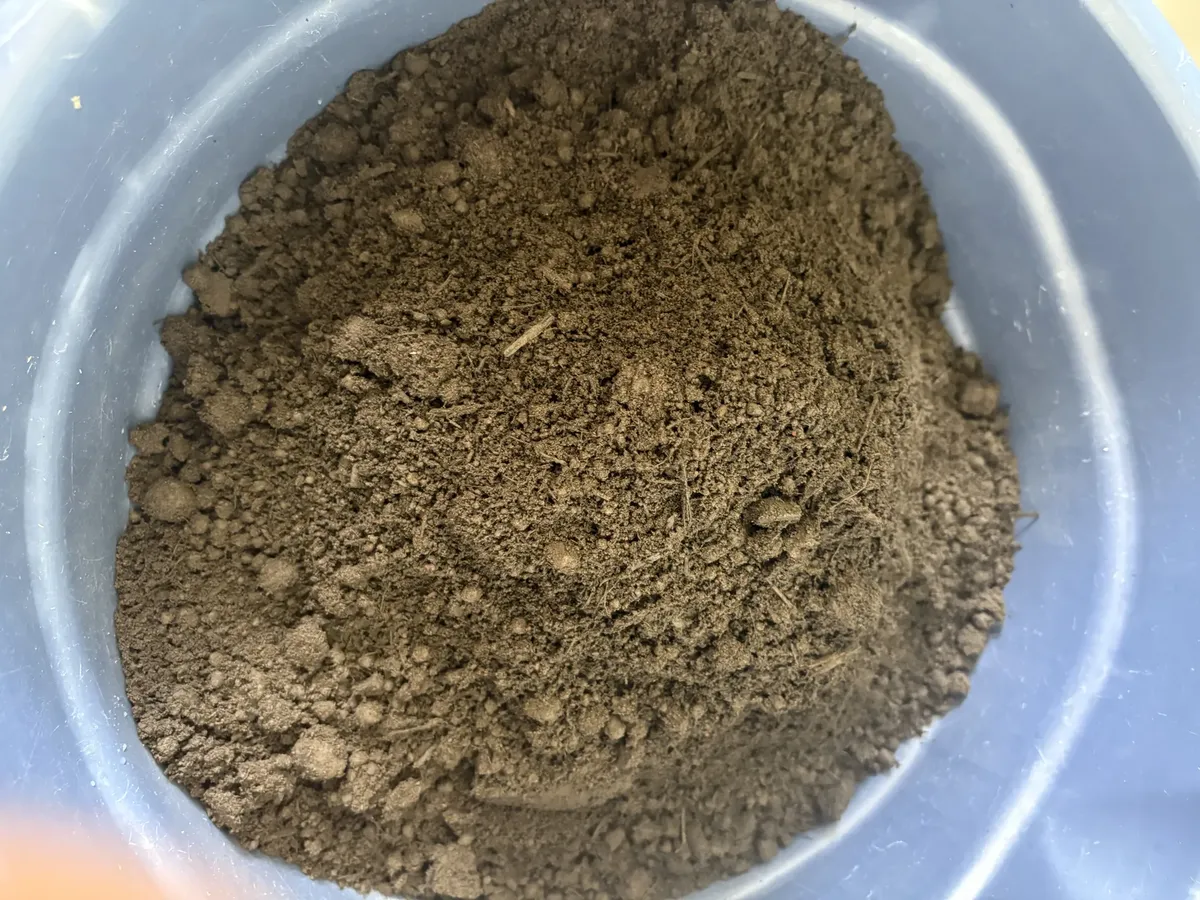
For almost two years, I had a pattern. I’d bring home a beautiful echeveria or a jade plant, water it “carefully,” and watch it turn to mush within a month. I blamed everything — not enough light, wrong pot, bad luck. It wasn’t until I repotted a dying haworthia and found roots sitting in what looked like wet, dense mud that I realized the actual problem: I’d been potting every single succulent in regular potting soil from a bag meant for tomatoes and basil.
That one repotting session changed how I garden. Once I switched to a proper succulent soil mix, I went from losing roughly one plant a month to not losing a single succulent in the following year. This guide is everything I wish someone had explained to me before I wasted a shelf full of plants — what succulent soil actually is, why it matters so much more than people think, and exactly how I mix my own now.
Why Regular Potting Soil Doesn’t Work
Ordinary potting soil is built to hold water. That’s the whole point of it — it’s designed for plants that want consistent moisture, like herbs or leafy vegetables. Succulents and cacti come from environments where rain is rare and drains away almost instantly, so their roots are adapted to short bursts of water followed by long dry spells, not soil that stays damp for a week.
When I used regular potting soil, the mix stayed wet for days after watering. The roots on my plants were essentially sitting in a swamp every time I watered, even though the top of the soil looked dry. That’s the part that fooled me for so long — the surface would dry out and I’d think it was fine to water again, while underneath, the denser soil was still holding moisture against the roots. That’s textbook root rot territory, and it’s exactly what killed most of my early plants.
What Succulent Soil Is Actually Doing Differently
A proper succulent soil mix isn’t about adding “special” fertilizer or nutrients — it’s almost entirely about structure. The goal is to create a mix that water can move through quickly, so roots get a brief drink and then air, rather than sitting in moisture. Two things matter most:
Drainage — how fast water moves through and out of the pot. Aeration — how much air pocket space exists around the roots even after watering. A mix can drain reasonably fast and still be too dense if it doesn’t leave enough air gaps, so both matter together, not just one.
This is achieved by leaning heavily on coarse, inorganic materials rather than the fine organic matter that makes up most bagged potting soil.
The Ingredients That Actually Made a Difference for Me
I went through a few versions of my own mix before landing on something that worked consistently. Here’s what each ingredient actually does, based on what I noticed changing in my own plants.
Pumice. This was the ingredient that made the single biggest difference for me. It’s a lightweight volcanic rock, full of tiny air pockets, and it doesn’t break down or compact over time the way some other additives can. When I switched from a mix without pumice to one with a generous amount of it, I noticed the soil dried out visibly faster — within 3-4 days instead of a full week — and my plants stopped showing that soft, translucent look that usually means overwatering stress.
Perlite. The white, popcorn-looking specks you’ve probably seen in bagged mixes. It does a similar job to pumice — creating air pockets and improving drainage — but it’s lighter and tends to float to the top of the pot over time, especially after a few waterings. I still use it because it’s cheap and easy to find, but I no longer rely on it alone.
Coarse sand or fine gravel. Not playground sand, which is too fine and can actually make drainage worse by filling in the gaps between other particles. I use coarse builder’s sand or aquarium gravel, and it adds weight to the mix, which matters more than I expected — my echeverias used to tip over constantly in a too-light mix, and adding some coarse grit fixed that along with helping drainage.
A small amount of organic material. Coco coir or peat moss, but genuinely a small amount — this is where I went wrong the first time I tried mixing my own soil. I used too much, thinking succulents still needed “real soil” mixed in, and ended up with something barely better than what I started with. The organic portion is there mainly to hold onto a small amount of moisture and provide a few nutrients, not to be the base of the mix.
My Actual Recipe (After a Lot of Trial and Error)
For most of my succulents — echeveria, haworthia, sedum, jade plants — I use roughly:
- 2 parts pumice
- 1 part coarse sand or perlite
- 1 part coco coir or regular potting soil (just as the organic portion, not the base)
For my desert cacti, I push it grittier — closer to 3 parts inorganic material to 1 part organic — because they tolerate and actually prefer even drier conditions between waterings.
For my one forest cactus (a Christmas cactus, which is honestly nothing like a desert cactus in terms of what it wants), I go the other direction slightly, using a bit more organic material since it comes from a humid, tree-dwelling environment and dries out too fast in a gritty desert mix.
I mix these in an old plastic bin outside, because it does get dusty — I’d recommend a mask if you’re sensitive to dust, since pumice and perlite both create fine particles when you’re stirring them.
Signs Your Soil Isn’t Working (Before It’s Too Late)
I wish I’d known these signs earlier instead of learning them by losing plants:
- Soil still feels damp 5+ days after watering. This was my biggest red flag in hindsight. If you push a finger an inch into the pot and it’s still cool and moist after several days, the mix is holding too much water.
- Leaves look swollen, glassy, or translucent, especially near the base. This is one of the earliest signs of overwatering-related stress, and it showed up on my plants well before any visible rot.
- The pot feels heavy for a long time after watering. A well-draining succulent soil mix should let a pot lose noticeable weight within a couple of days as it dries.
- Water pools on top instead of soaking in. If water just sits on the surface, the mix is too compacted or has too much fine organic material.
Repotting Into a Better Mix
If you’re dealing with a plant that’s been sitting in the wrong soil, here’s the process I use every time now:
- Let the soil dry out fully first if the plant isn’t already showing rot. Repotting a succulent that’s bone dry causes far less stress than repotting a wet one.
- Gently remove the plant and shake off as much old soil as you can. I do this over a bin so I can reuse what’s still good.
- Check the roots. Healthy roots are firm and usually white or light tan. Anything dark, mushy, or that smells off gets trimmed away with clean scissors.
- Let the roots sit out and callus for a day or two if you had to trim any. I learned this the hard way after repotting straight into damp soil once and losing the plant to rot within a week from the fresh cuts.
- Pot into the new mix, making sure the base of the plant sits at the same depth it was before, and don’t water immediately — I wait about 3-5 days before the first watering to let any small root damage heal.
Choosing the Right Pot to Go With It
Even the best succulent soil mix can’t fully make up for a pot with no drainage hole — I learned this after keeping a haworthia in a cute ceramic pot with no hole for months, thinking my new soil mix would compensate. It didn’t. Water still pooled at the very bottom below the soil line, and the roots sitting closest to it eventually rotted anyway.
Terracotta has become my go-to now, mostly because it’s porous and lets some moisture evaporate through the sides of the pot itself, not just through the drainage hole. It’s a small thing, but combined with the right soil, it’s made watering far more forgiving.

Frequently Asked Questions
Can I use cactus soil and succulent soil interchangeably? For most common succulents, yes — the base mix is very similar. I only adjust the ratio slightly grittier for true desert cacti and slightly less gritty for tropical or forest cacti like Christmas cactus.
How often should I replace succulent soil? I generally repot into fresh mix every 1-2 years, mostly because the organic portion breaks down over time and the mix gradually holds more moisture than it used to, even if it looked fine at first.
Is it okay to add fertilizer to succulent soil? I add a very diluted, succulent-specific fertilizer occasionally during active growth in spring and summer, but I’ve found it matters far less than getting the soil structure right in the first place. A plant in the wrong soil won’t be saved by fertilizer.
Can I reuse old soil when repotting? I usually mix a portion of the old soil back in, minus any roots or debris, along with fresh pumice and perlite to restore the drainage that’s broken down over time.
What I’d Tell Myself Two Years Ago
If there’s one thing I’d go back and tell myself before I killed my first several succulents, it’s this: the soil matters more than almost anything else people obsess over — light, watering schedule, humidity. I spent months trying to fix a watering “problem” that was actually a soil problem the entire time. Once the succulent soil itself could actually drain and breathe the way these plants need, most of my watering mistakes stopped being fatal ones.

Gardening Writer & Plant Enthusiast
Sarah Mitchell is a passionate gardening writer dedicated to helping people bring more nature into their homes. She loves exploring indoor plants, flowers, and sustainable gardening practices, sharing simple and practical tips that make plant care easier for everyone.